While reading about setting up Neovim, I kept coming across guidance to install the nvim-lspconfig plugin. The gist of the advice was that installing this plugin was essential to using LSP in Neovim. It made it “easier” somehow.
As I wanted to avoid plugins where I could, and I only needed to configure three or four language servers (out of the dozens nvim-lspconfig supports), I wondered what the plugin actually did and whether it was worth pulling into my configuration.
In this post, we’ll look at getting a language server working with an open file
without using any Neovim plugins at all. We’ll get to the point where we can
open .go files in a Go module, and automatically be able to use LSP
functionality like go-to-definition, auto-complete and rename.
Then we’ll look at nvim-lspconfig with fresh eyes, understanding what it’s
doing and better able to judge whether it’s worthwhile for my, and your,
configuration. Regardless of the conclusion we come to, for me it’s always
super-valuable to understand what’s going on under the hood of my tools, and
we’ll certainly come out of this article knowing a lot more about Neovim’s LSP
API and capabilities than I did before I started writing it 🌟
Before starting
For the article, I have used Go’s language server, gopls. I’ve installed and set it up manually with other editors, so I was confident I’d just need to learn the “Neovim bits” rather than futzing with the language server itself. This seemed wise as an approach, given I knew little about Neovim’s LSP Lua API before starting.
If you want to follow along, let’s get gopls installed, and learn how to start
Neovim with a clean configuration so we really can do this from first
principles.
Start Neovim with a temporary, clean configuration. You can do this for a given instance of Neovim using:
nvim --clean -u <path to fresh init.lua>I chose to use
nvim --clean -u ~/.config/nvim.go/init.lua.If you miss out
--clean, the configuration specified with-uwill be appended to your default configuration; not what we want at all.Ensure
goplsis installed.On macOS, homebrew can be used, or
go installper the gopls docs. If you don’t havegoplsinstalled, Neovim will give you an error when you run thevim.lsp.start()commands later:Spawning language server with cmd: `gopls` failed. The language server is either not installed, missing from PATH, or not executable.Once in Neovim, check that the Neovim
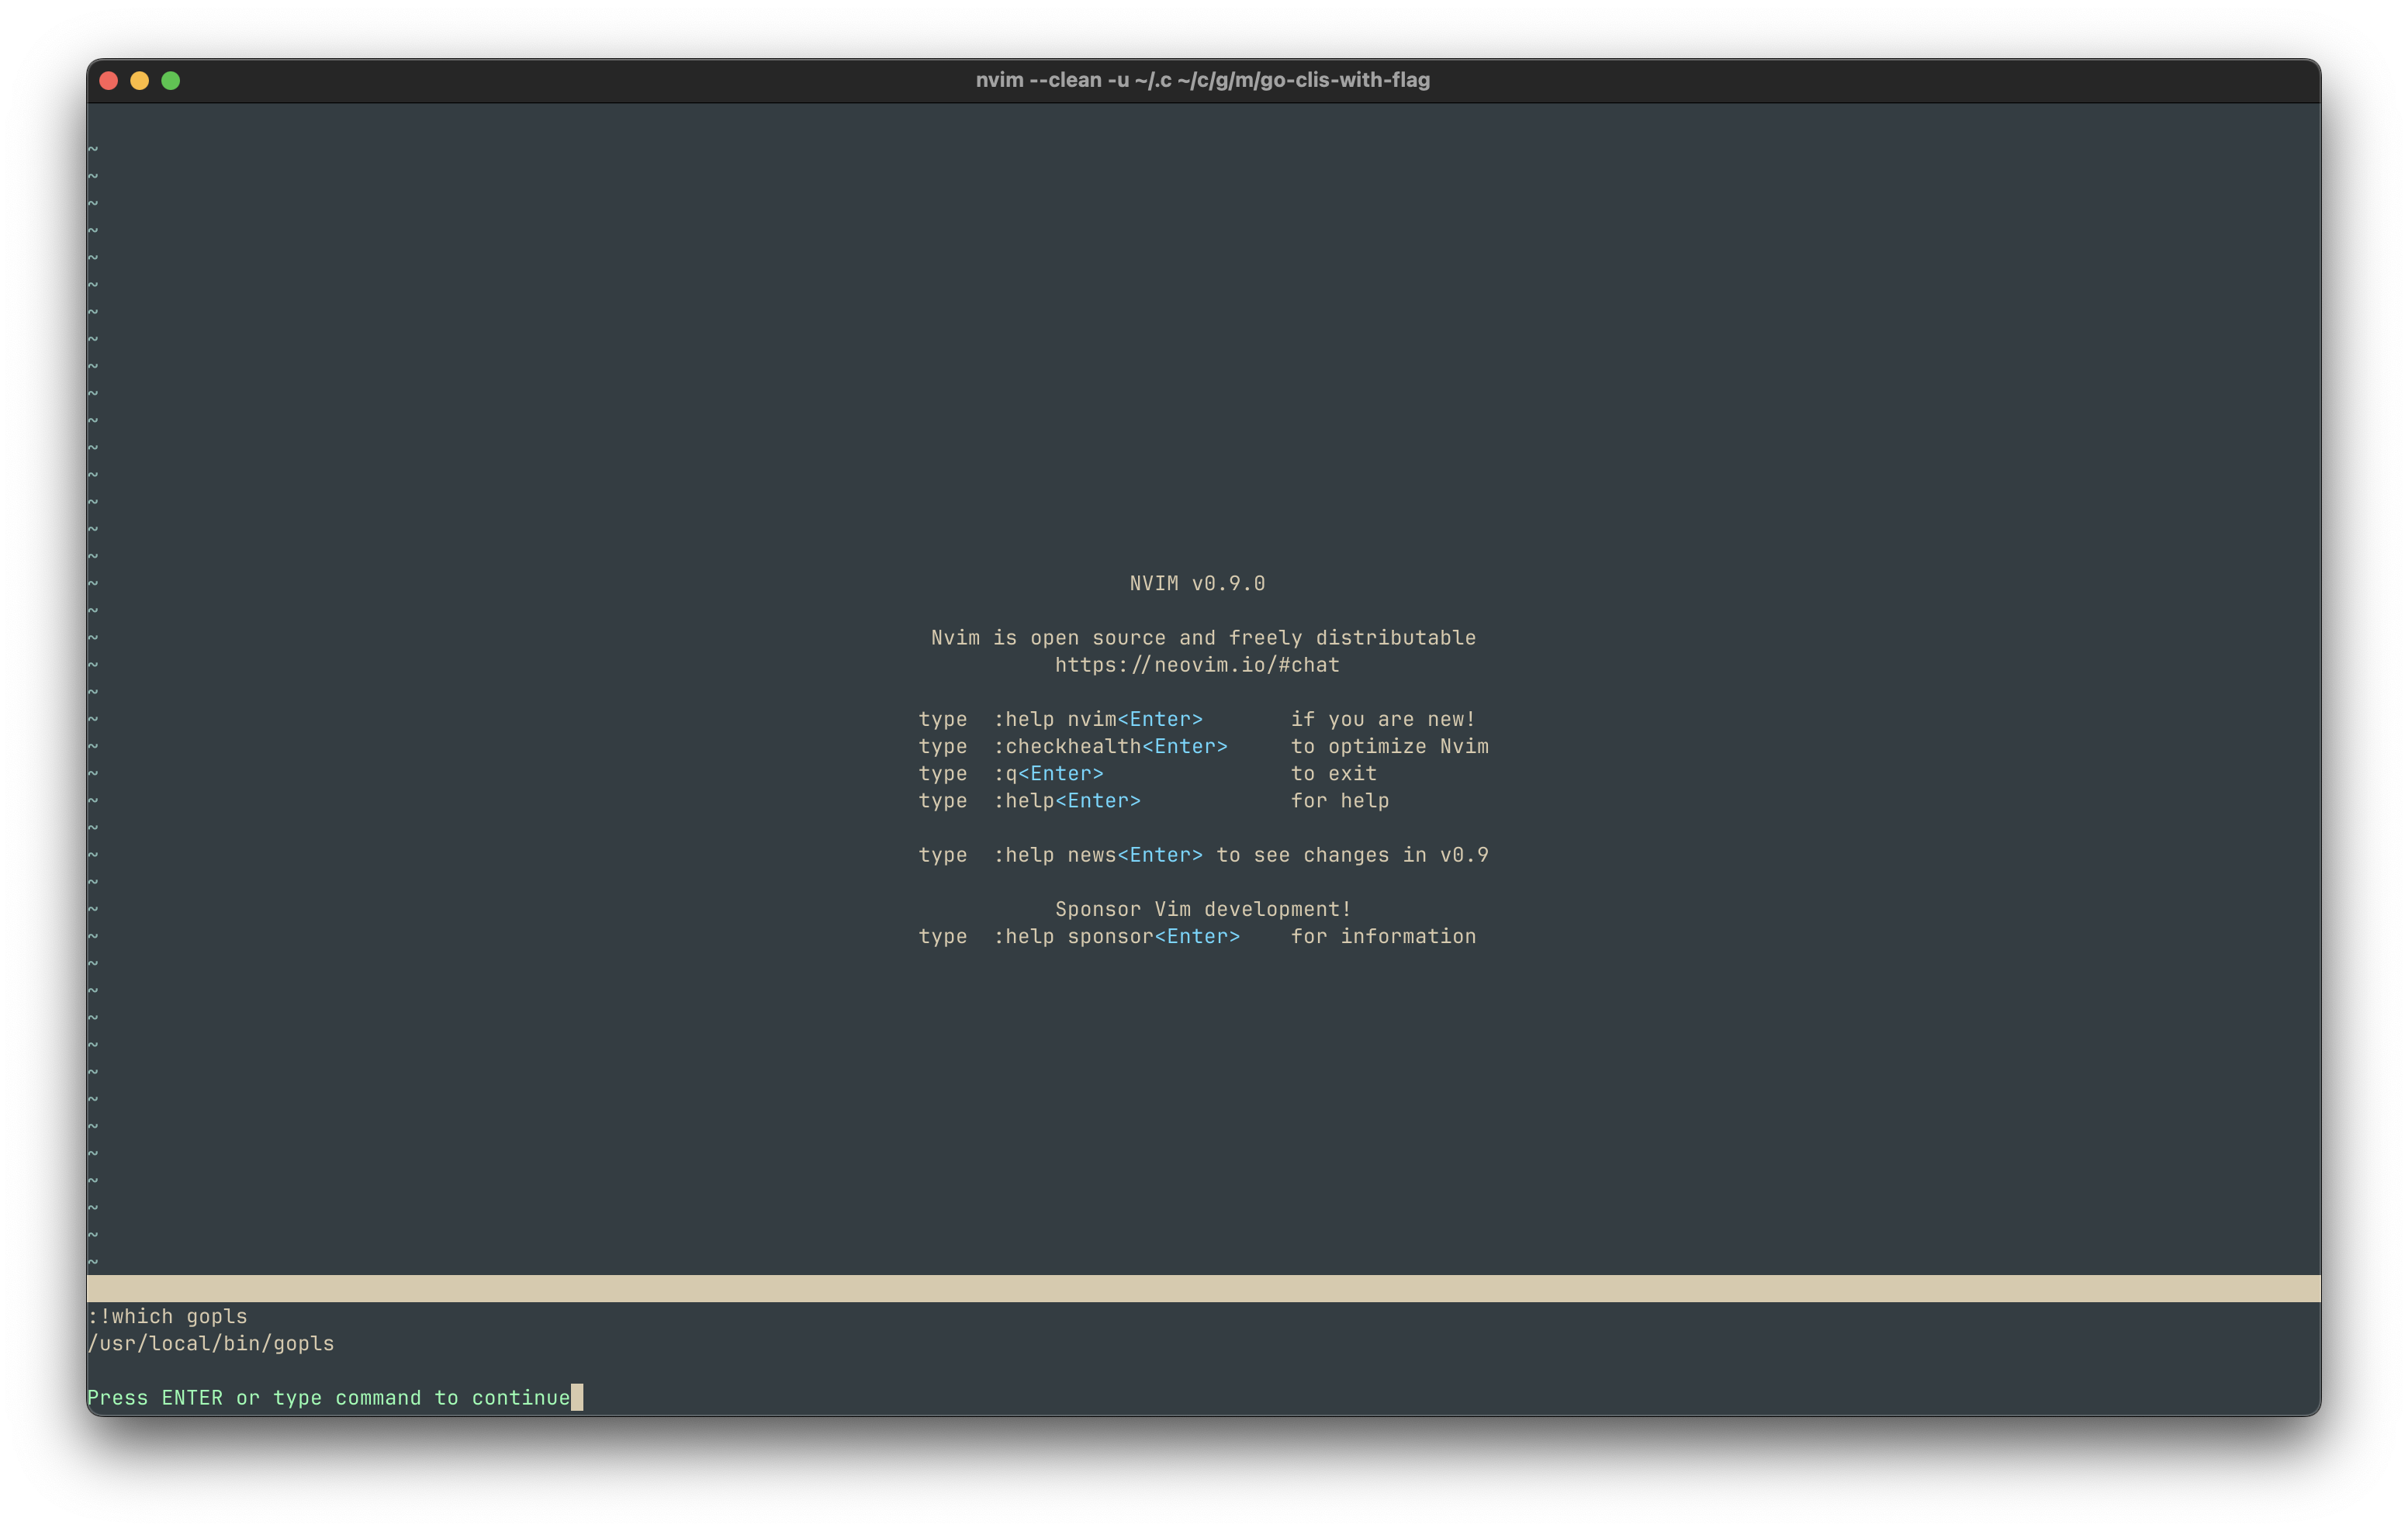
PATHcontainsgoplsby usingwhich::!which goplsThat is, use
:to enter command mode, then type!to execute a command in the shell, and thenwhich gopls, and finally<enter>to execute that command. If all is well, a path togoplsshould be printed.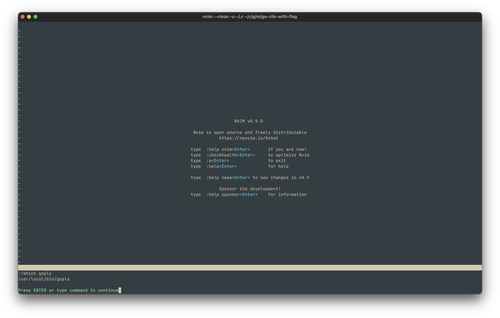
Check out an example project. We can use one of mine, go-clis-with-flag:
cd /Users/mike/code/gh/mikerhodes git clone https://github.com/mikerhodes/go-clis-with-flag.git cd go-clis-with-flagThis is a super-simple demo Go project. Again, I wanted to focus on issues within Neovim rather than issues with
goplsor my project, so keeping the project simple made sense.
Now we are ready to connect to the language server from Neovim, and start using smart functionality. All without using any plugins!
LSP in Neovim
Having spent a few weeks configuring and working in Neovim, I was confident enough to head straight to the Neovim LSP documentation. What we find there is that Neovim’s support for LSP is reasonably extensive. Without any additional plugins, it can:
- Start a language server process and create a client for that language server.
- “Attach” the client to a buffer. Once this has been done, many features are
available:
- Display method documentation in a floating window.
- Show errors from the language server in line with your code, or in a separate window.
- Jump to definitions, show references.
- Show LSP-driven smart autocomplete using Neovim’s omni-completion.
- Format the buffer using the language server.
- Show available “code actions” — generally refactorings.
This told me that Neovim can do a lot on its own. It also told me that it would be easy to tell whether I’d got things working — I should be able to carry out these functions on my own Go code.
After spending ten productive — and fifteen head-scratching — minutes with the Neovim documentation, I found out that to start using a language server’s functionality within Neovim, we need to do two things:
- Create a client for a language server using
vim.lsp.start(). If needed, when creating a client Neovim will start the language server process (in our case,gopls) that the client will connect to. This client needs to be appropriately set up for the file in question, so it knows where to find files likego.mod. - Once we have a client, we need to “attach” the client to each buffer (loaded
file) where we wish to use the language server’s features. In our case,
that’ll be
.gofiles.
Starting a language server client
The Quick Start section of the LSP docs gives a basic example of
calling vim.lsp.start():
vim.lsp.start({
name = 'my-server-name',
cmd = {'name-of-language-server-executable'},
root_dir = vim.fs.dirname(
vim.fs.find({'setup.py', 'pyproject.toml'}, { upward = true })[1]
),
})
Looking further into the documentation for start(), we can see what
name, cmd and root_dir are:
namearbitrary name for the LSP client. Should be unique per language server.cmdcommand (in list form) used to start the language server. Must be absolute, or found on $PATH. Shell constructs like~are not expanded.root_dirpath to the project root. By default this is used to decide if an existing client should be re-used. The example above usesvim.fs.find()andvim.fs.dirname()to detect the root by traversing the file system upwards starting from the current directory until either apyproject.tomlorsetup.pyfile is found.
While there are a boatload of other options available, I figured that the
example above must show all the required values. Let’s alter it to use gopls.
To start with, let’s also drop the fancy vim.fs.find() and hard-code our
folder:
vim.lsp.start({
name = 'gopls', -- No idea whether this should be "more unique" 🤷
cmd = {'gopls'},
root_dir = '/Users/mike/code/gh/mikerhodes/go-clis-with-flag/'
})
This all needs to be entered as a single Neovim command, on one line. Use the
:lua Vim command, followed by the Lua code to execute. Prefix the Lua code
with = to get Neovim to print the Lua code’s return value:
:lua =vim.lsp.start({name='gopls',cmd={'gopls'},root_dir='YOUR_ROOT_DIR'})
In my case, this looks like this, all written out:
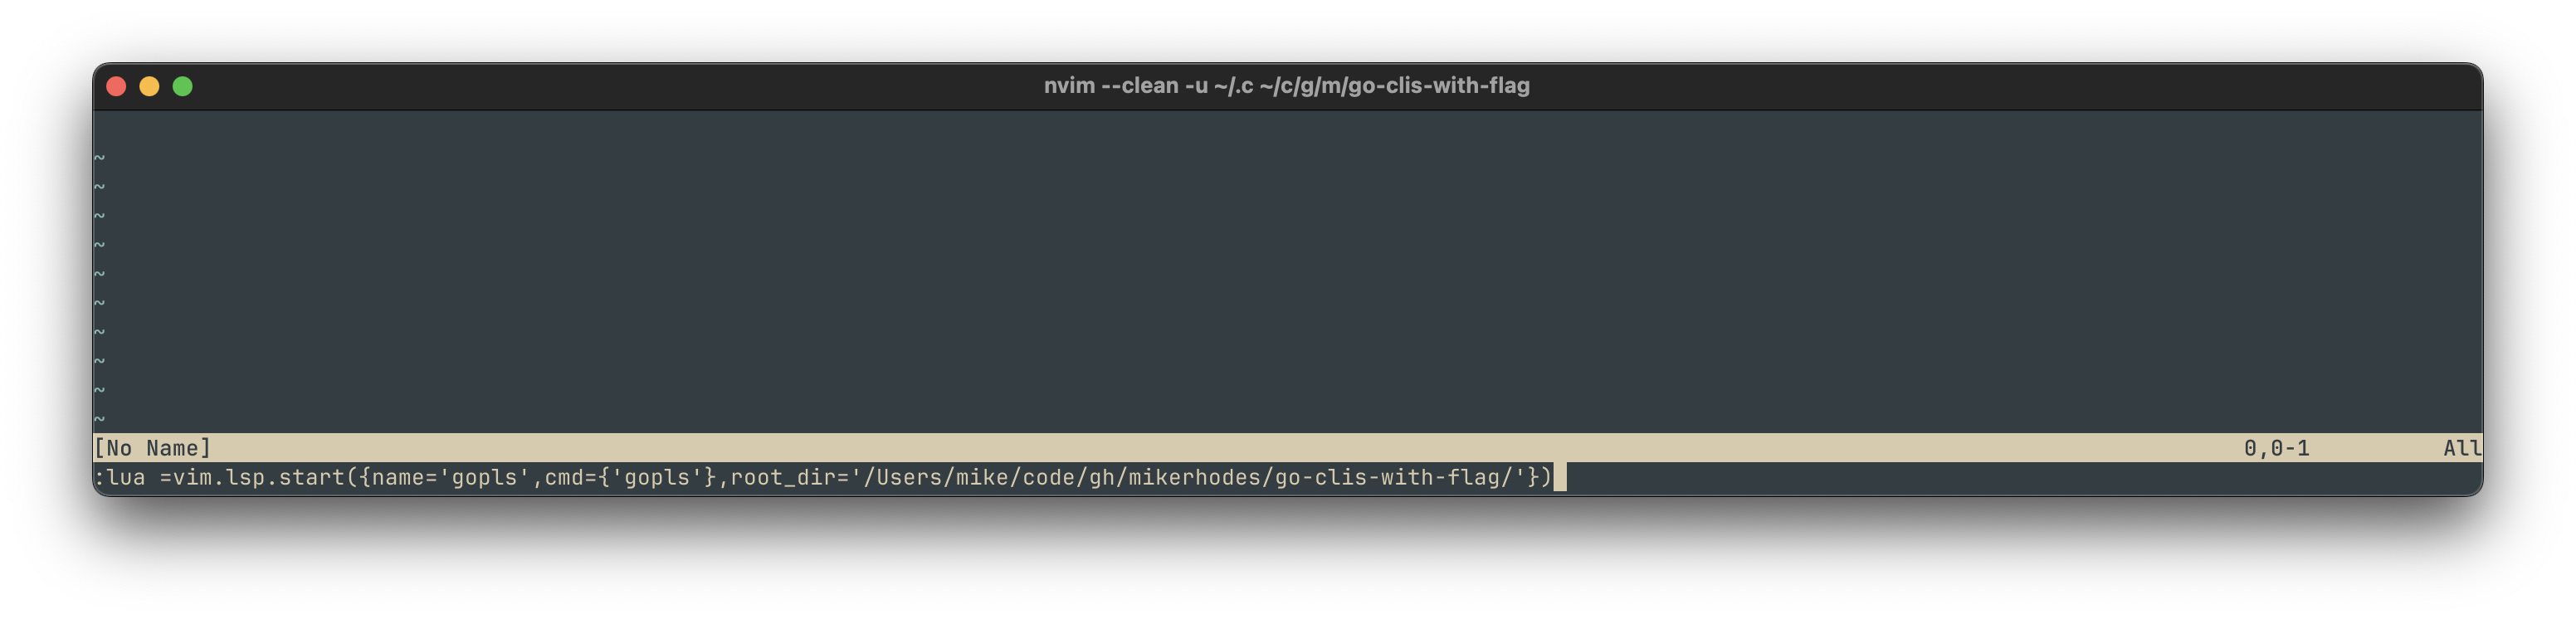
start() returns the newly created client’s ID. Using the = form of the
command, shown in the screenshot, shows that return value in the command area
after pressing enter. In my case this was 1. We’ll need this ID to attach the
client to a buffer.
As noted earlier, the main error that might appear in response to this command is:
Spawning language server with cmd: `gopls` failed. The language
server is either not installed, missing from PATH, or not executable.
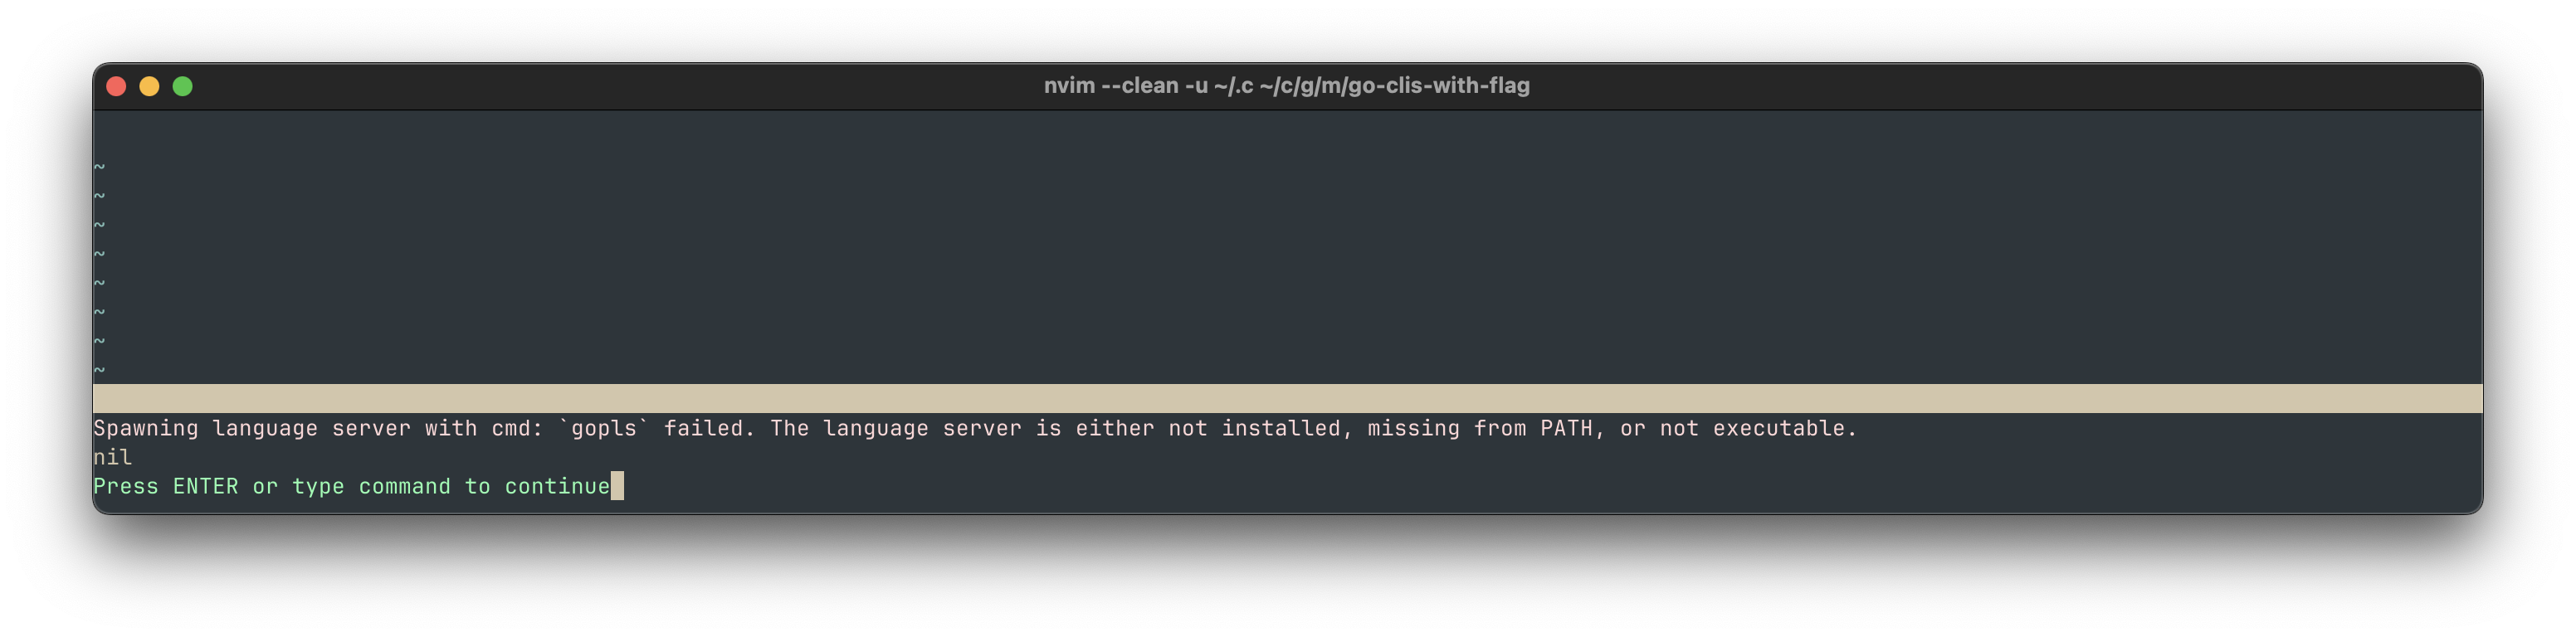
If you see this, check that :!which gopls shows your installed gopls. If it
doesn’t, for some reason the path Neovim is starting with can’t see the language
server binary. I’m not sure how to solve this, presuming the binary is
installed. Sorry to have to leave you on your own if you hit this.
Attaching the client to the buffer
Assuming we’ve been successful getting a gopls server started and a client
created for it, we’re ready to attach the client to a buffer.
To attach a client to a buffer, we use
vim.lsp.buf_attach_client(). The method takes the ID of a
buffer and the ID of a language server client. We’ll use the language server
client we just created, which on my machine got id 1. Conveniently, Neovim’s
Lua buffer methods tend to allow passing 0 as the buffer ID as a shorthand for
“the current buffer”. So we can attach the client to our current buffer by
typing:
:lua =vim.lsp.buf_attach_client(0, 1)
And hitting enter. As we used =, Neovim will print the result to the command
area. It should be true for a successful attachment.
Warning! When you are attaching the LSP client to a buffer using Lua like
this, you are responsible for making sure that the client is appropriate for the
file open in the buffer. For example, that it’s the right language and that the
root_dir is appropriate for the file. Without this, the language server will
likely respond with errors or garbage.
We can confirm the client was attached using
buf_is_attached:
:lua =vim.lsp.buf_is_attached(0, 1)
Again, this should return true.
At this point the buffer will start to receive information from the LSP. For example, it will show errors:
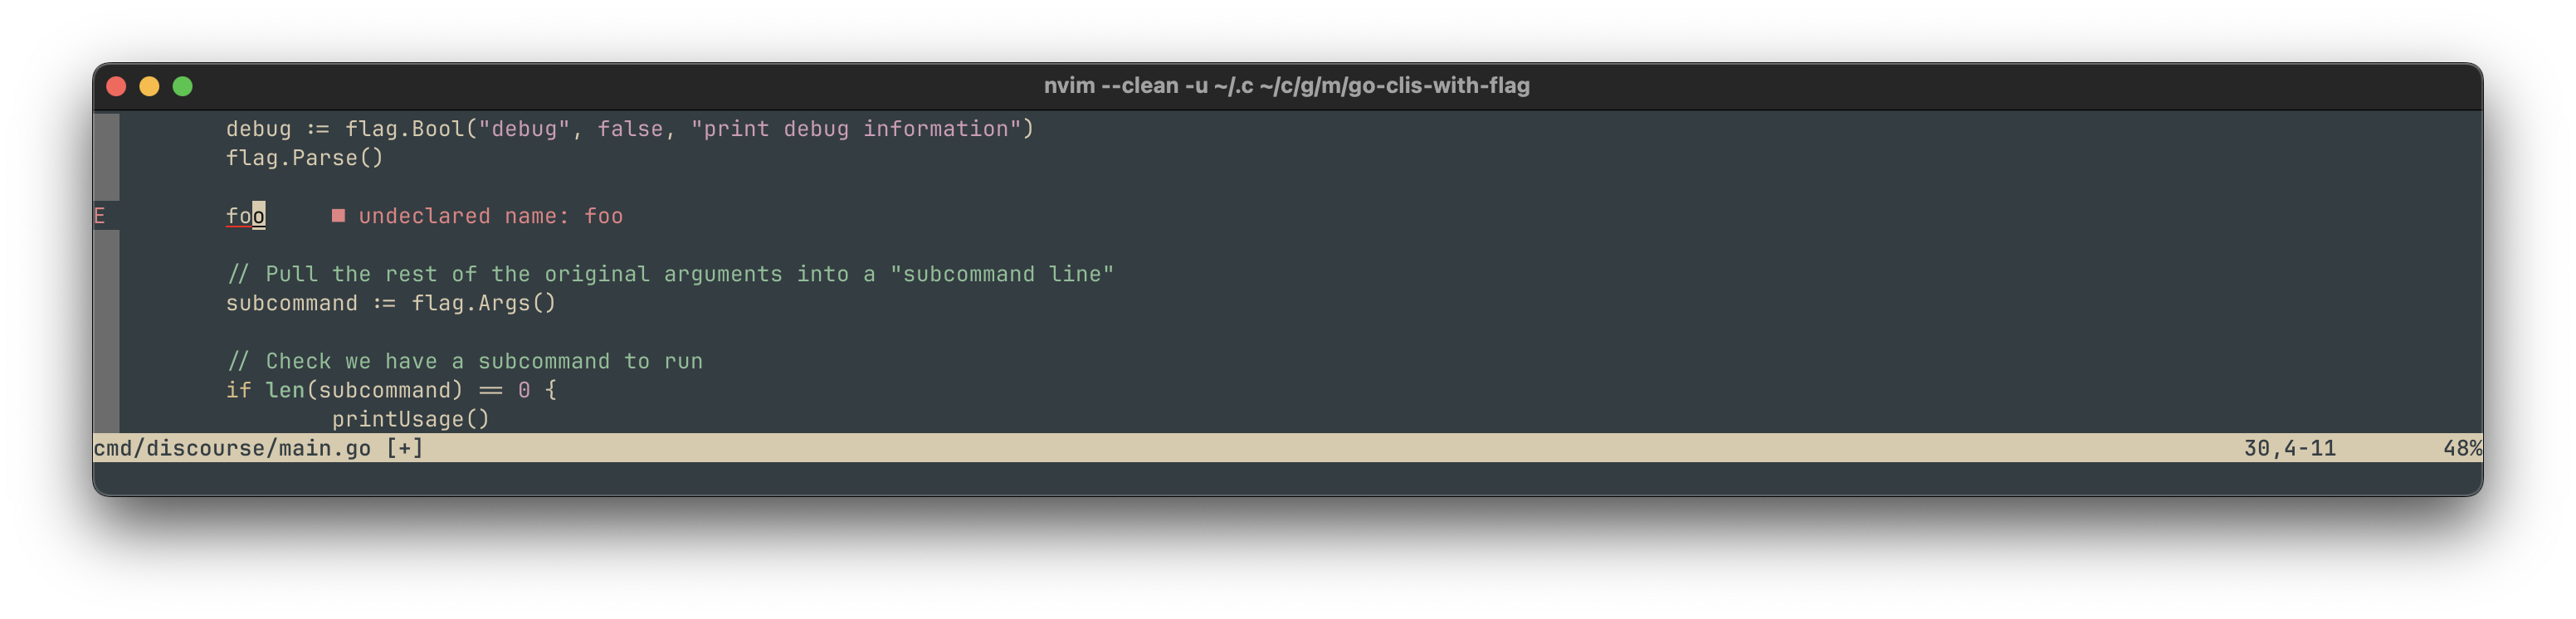
When a client is attached to a buffer, it updates Neovim’s omni-completion to
use completions from the LSP server. Call up omni-completion using
Ctrl-X Ctrl-O.
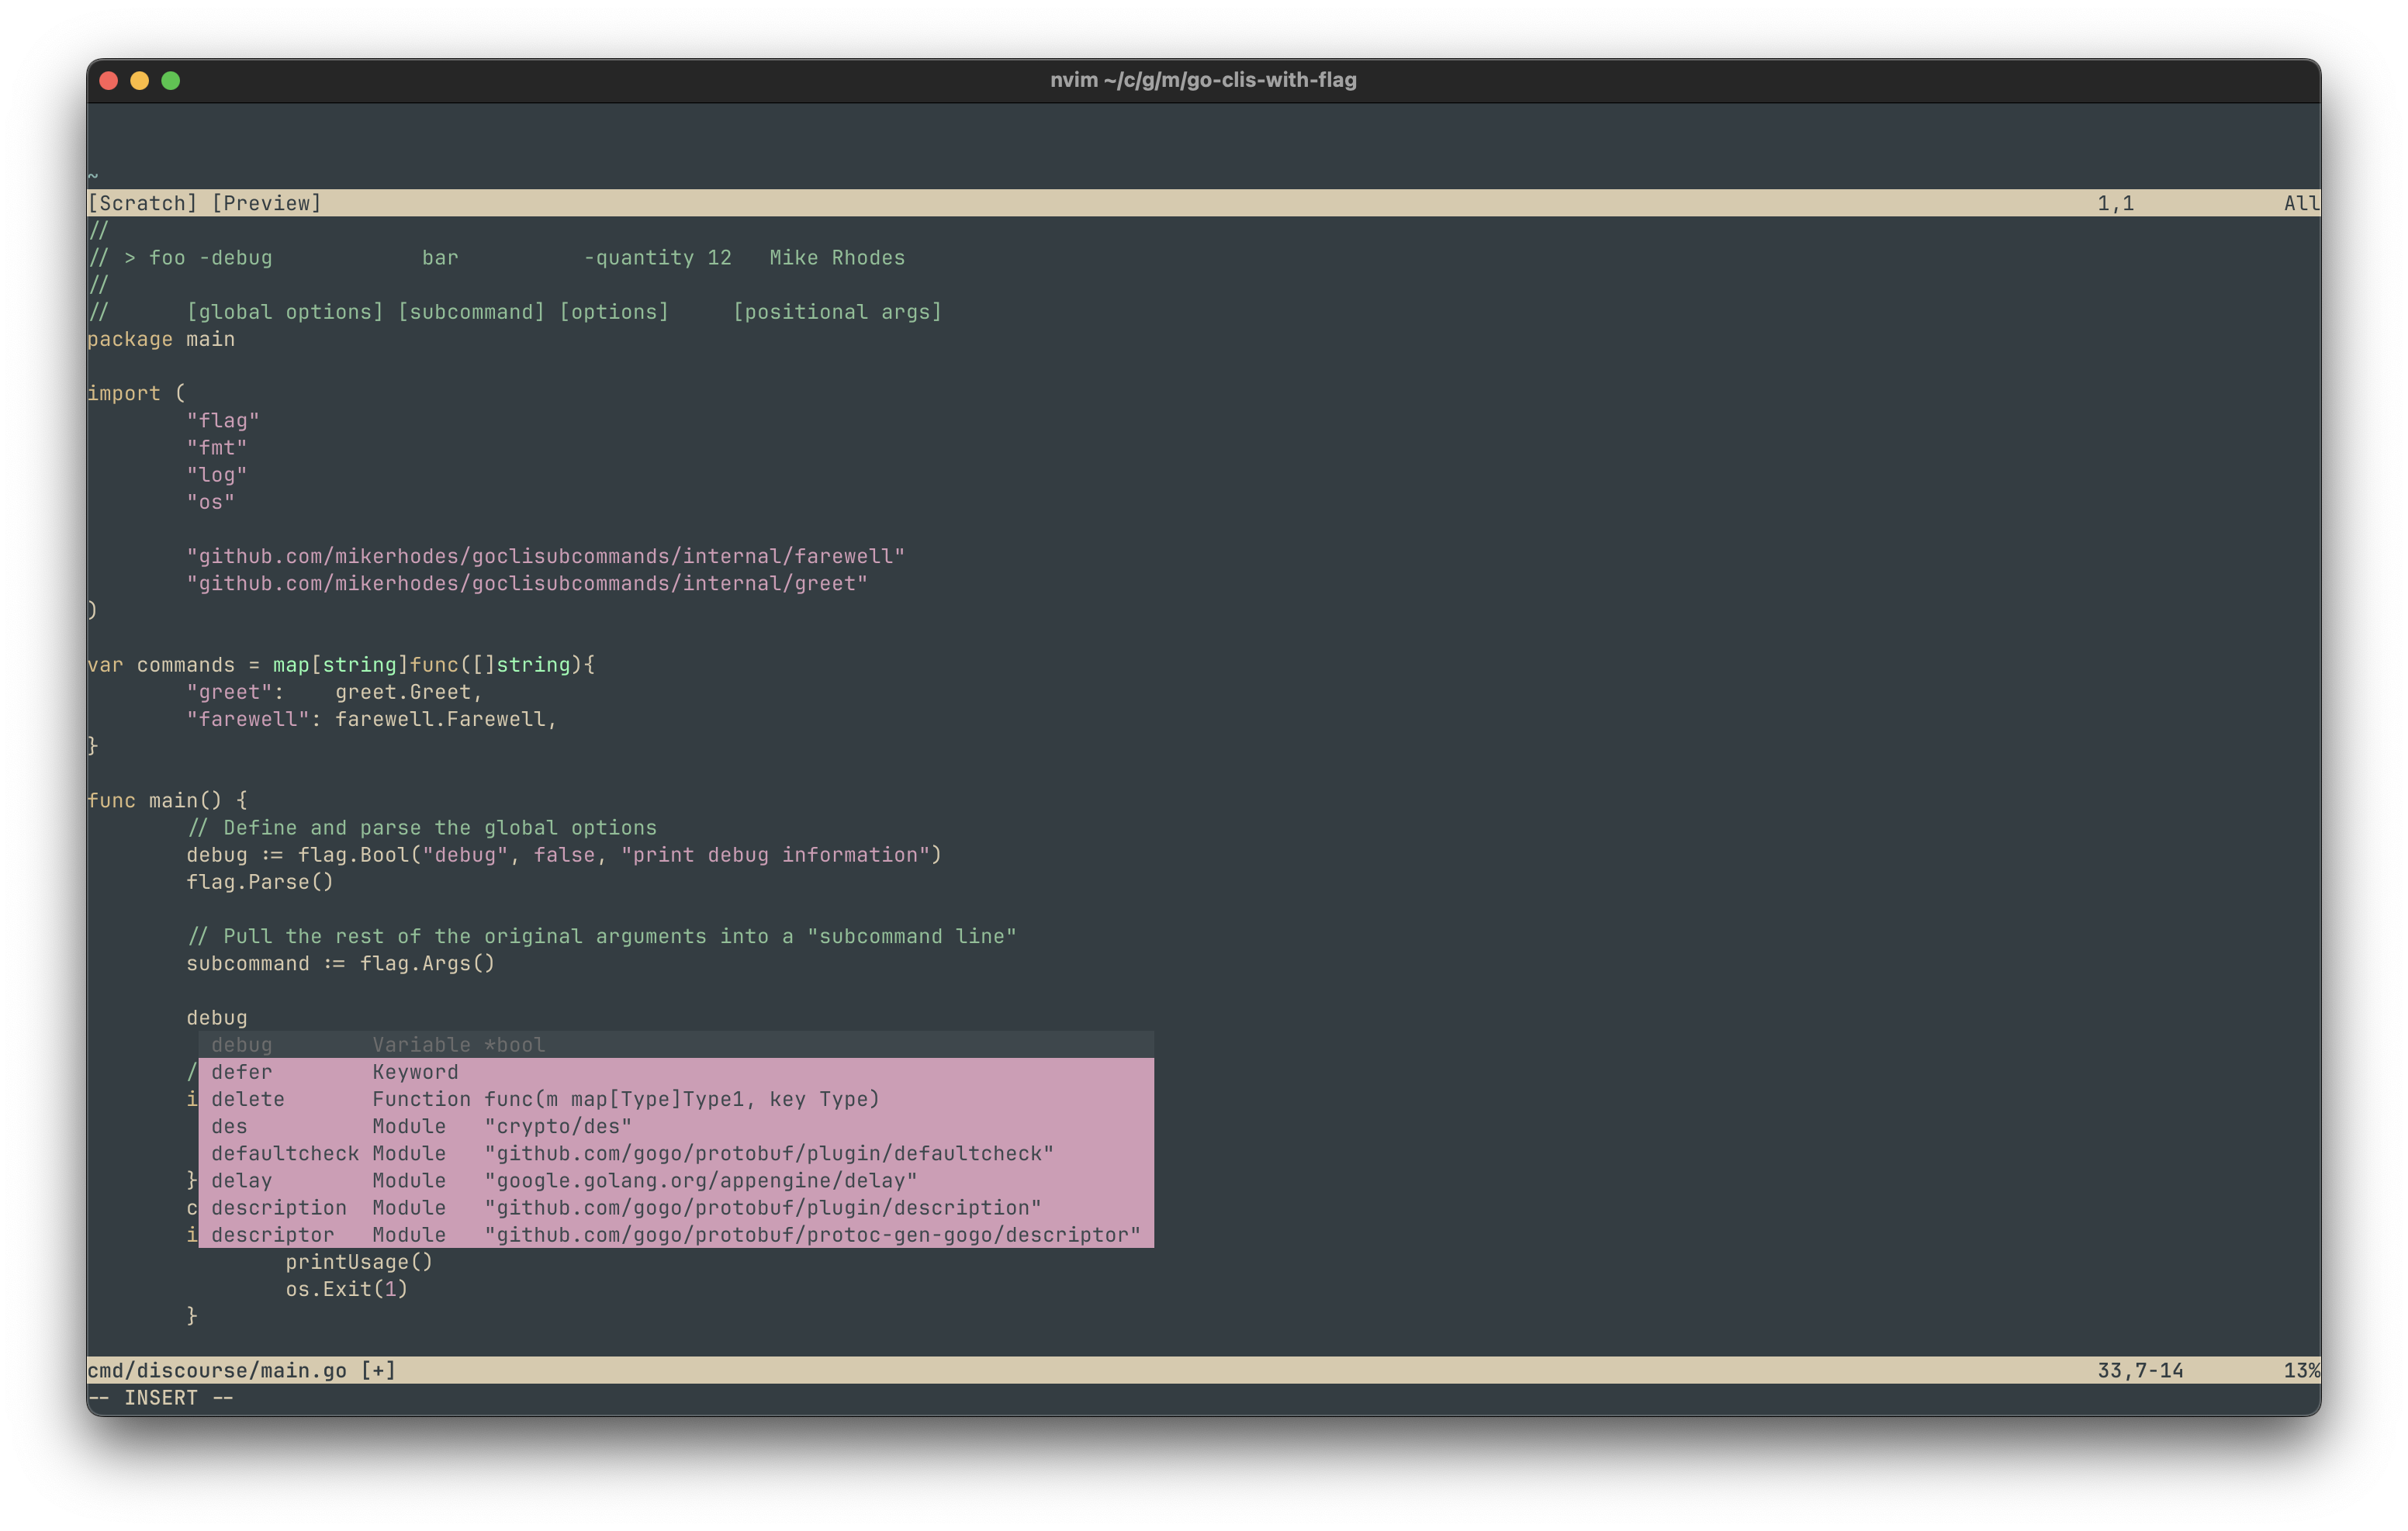
Pardon the weird colours, this is just how Neovim looked without a theme set in my terminal 🤷.
We can also start to call LSP functions. As Neovim doesn’t map any of this
functionality to hot keys by default, we have to call the LSP functions via
:lua commands. After putting the cursor on a method, we can use
:lua vim.lsp.buf.hover() to show the documentation:
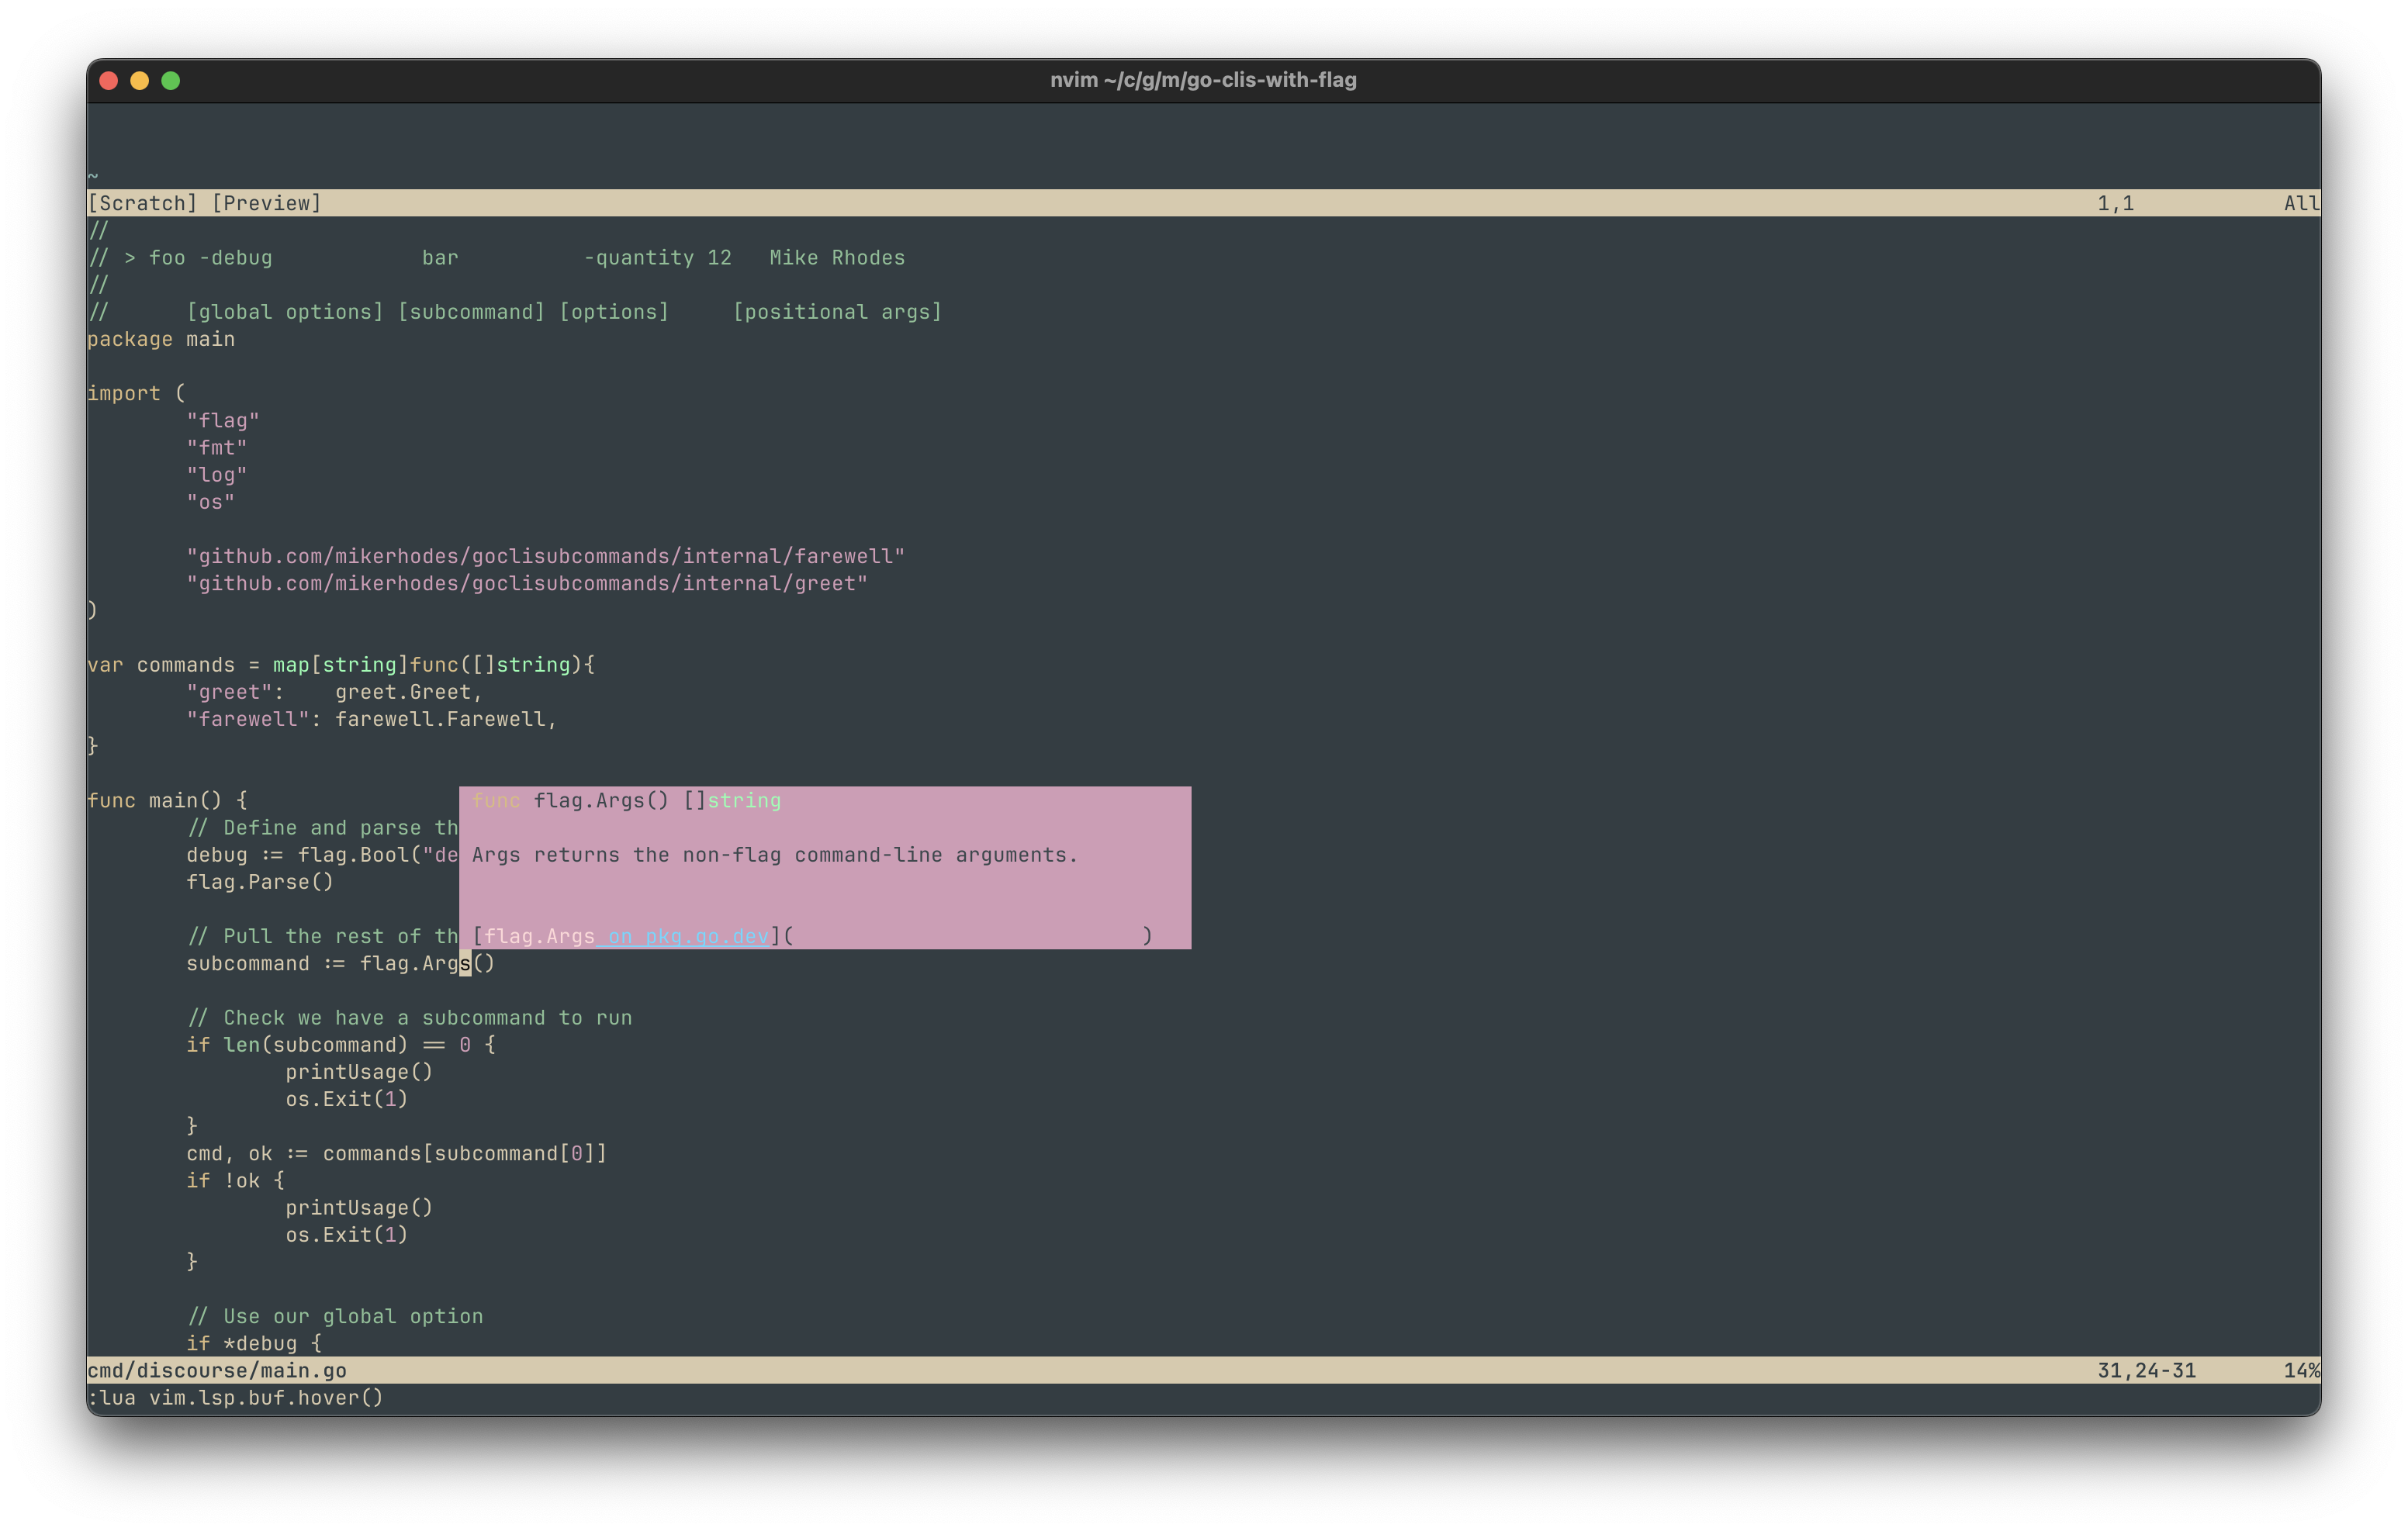
Again, colours improve once you set a theme in Neovim itself 🧑🎨.
Other examples:
:lua vim.lsp.buf.definition()will jump to the definition of the symbol under the cursor.:lua vim.lsp.buf.format()will format the document.:lua vim.lsp.buf.rename('NEWNAME')will rename a symbol, if the LSP server supports the refactoring.
The Neovim LSP buffer functions documentation has several others that can be called.
Automating creating and attaching clients
It’s actually not that hard to take what we’ve learned, and automate getting an
LSP client attached to a buffer correctly. We do this by writing an autocmd
that runs when Go files are opened. It creates an LSP client and attaches it to
the new buffer. There are some helper functions and smart behaviour built into
Neovim that we can take advantage of:
- First, we go back to that first example from the LSP documentation for
vim.lsp.start(). It contained code that will traverse up the file tree until it finds a language-appropriate file indicating we’ve hit what looks like a “project” the language server will understand. In Go’s case, that’sgo.modorgo.workfiles. We fallback to.git. - We can repeatedly call
vim.lsp.start()using the samename. If we pass the sameroot_dir, Neovim will return us an existing client for that “project”. Otherwise it will start a new one. Because this is smart, we never have to worry about checking for existing clients ourselves (I confirmed this by checking that new LSP clients were not spawned as I opened more Go files in the example project). - We then just attach the client to the new buffer.
The code looks like this:
local autocmd = vim.api.nvim_create_autocmd
autocmd("FileType", {
    pattern = "go",
    callback = function()
        local root_dir = vim.fs.dirname(
            vim.fs.find({ 'go.mod', 'go.work', '.git' }, { upward = true })[1]
        )
        local client = vim.lsp.start({
            name = 'gopls',
            cmd = { 'gopls' },
            root_dir = root_dir,
        })
        vim.lsp.buf_attach_client(0, client)
    end
})
With just this code in your init.lua, Go files will have all the LSP
functionality automatically made available. Presuming you have gopls available
to Neovim 😉
Getting the state of the language server clients
It’s sometimes useful to see what language server clients are started, to either
debug them or to grab things like their IDs. This can be done using
vim.lsp.get_active_clients().
For example, to return a count of active clients, we can combine the =
operator with Lua’s # operator:
:lua =#(vim.lsp.get_active_clients())
To get the ID of the first client (eg, to use in attaching it to a buffer):
:lua =vim.lsp.get_active_clients()[1].id
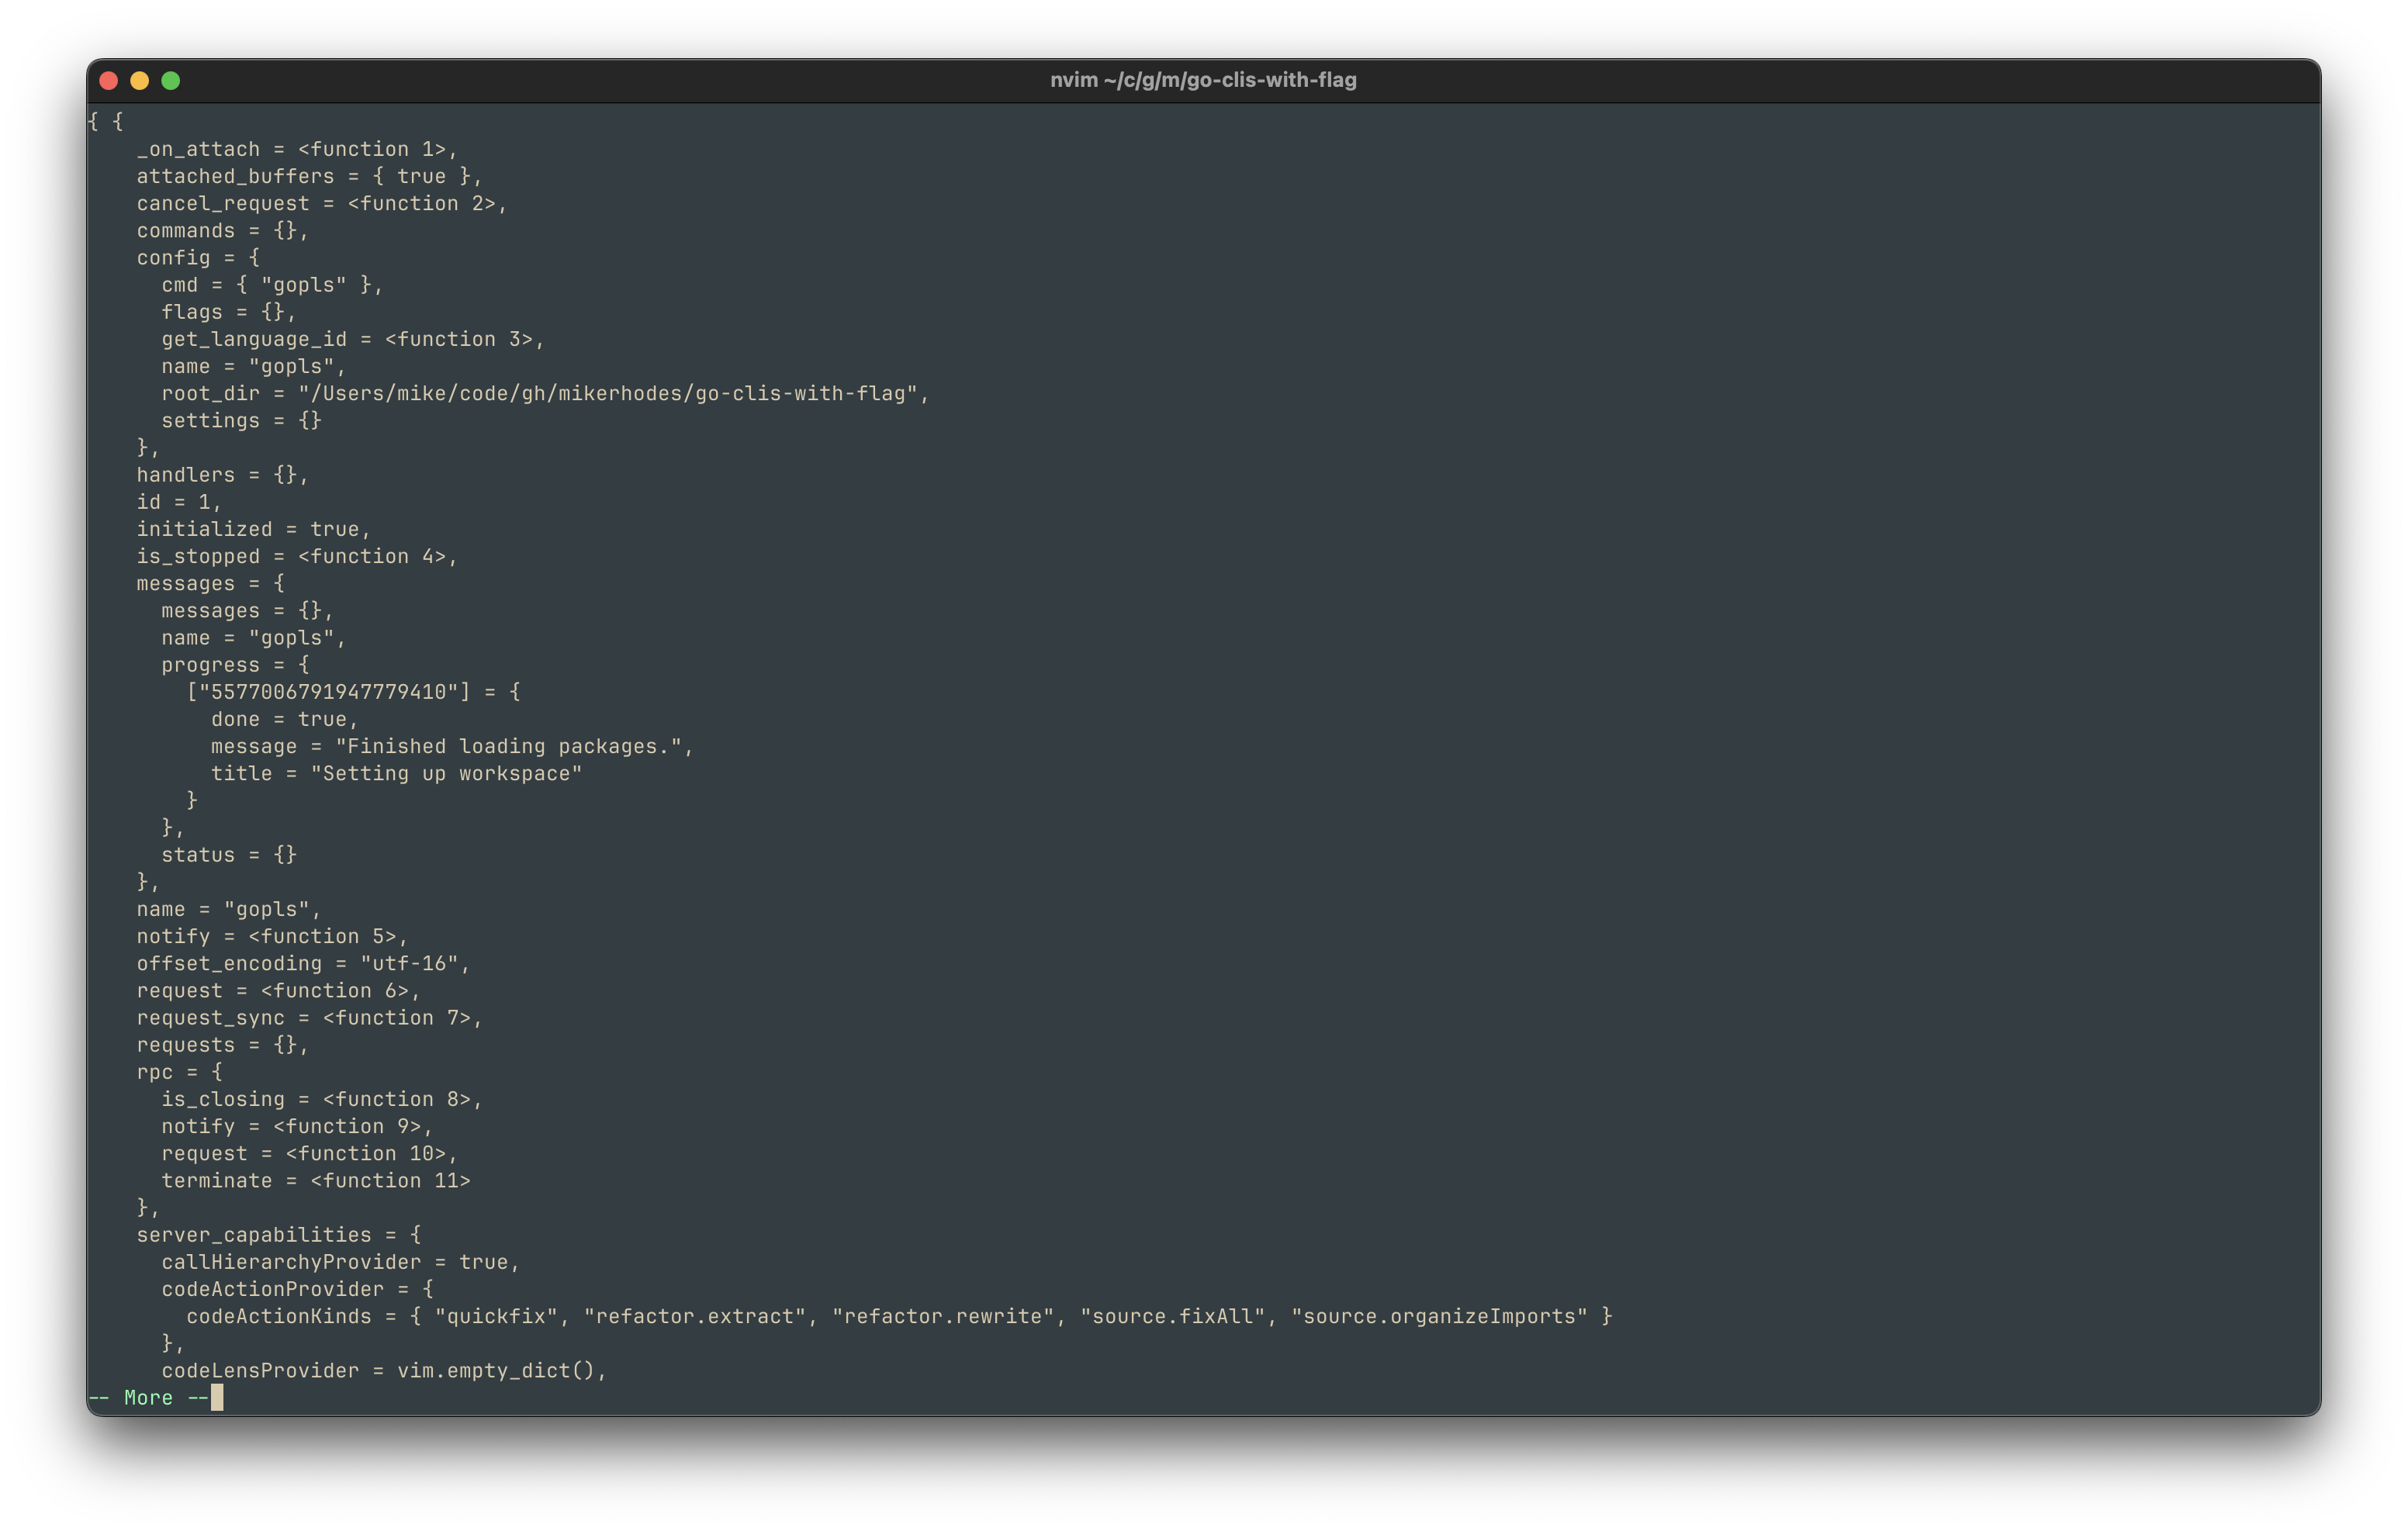
We can dump the full state of all clients to a temporary buffer using:
:lua =vim.lsp.get_active_clients()
It prints a lot! Here we can see the state for the client we created earlier, as
we can see from the cmd and root_dir:
nvim-lspconfig
Now we know how to use an LSP server with an open file “by hand”, we can better
understand what nvim-lspconfig does and how it makes things
easier. While we saw that it was actually really easy to get the LSP client
attached to all your Go buffers using a single autocmd, my feeling is that
nvim-lspconfig gives enough convenience to make it worth using:
- nvim-lspconfig contains best-practice configuration for lots of language
servers. This is really helpful for languages where one is less familiar
with the ecosystem than I am with Go’s. For example, it made getting the Lua
language server running for use when writing my Neovim configuration easy.
- Now we’ve learned how to set up the
goplsserver “by hand”, it’s easier to see how the nvim-lspconfig gopls configuration maps to the Neovim Lua code. This makes it easier to customise, if we need to.
- Now we’ve learned how to set up the
- It handles creating the
autocmdsfor creating LSP clients and doing the buffer attachments. It’s likely more complete than I’d work out, and probably more robust than myautocmdabove. - The
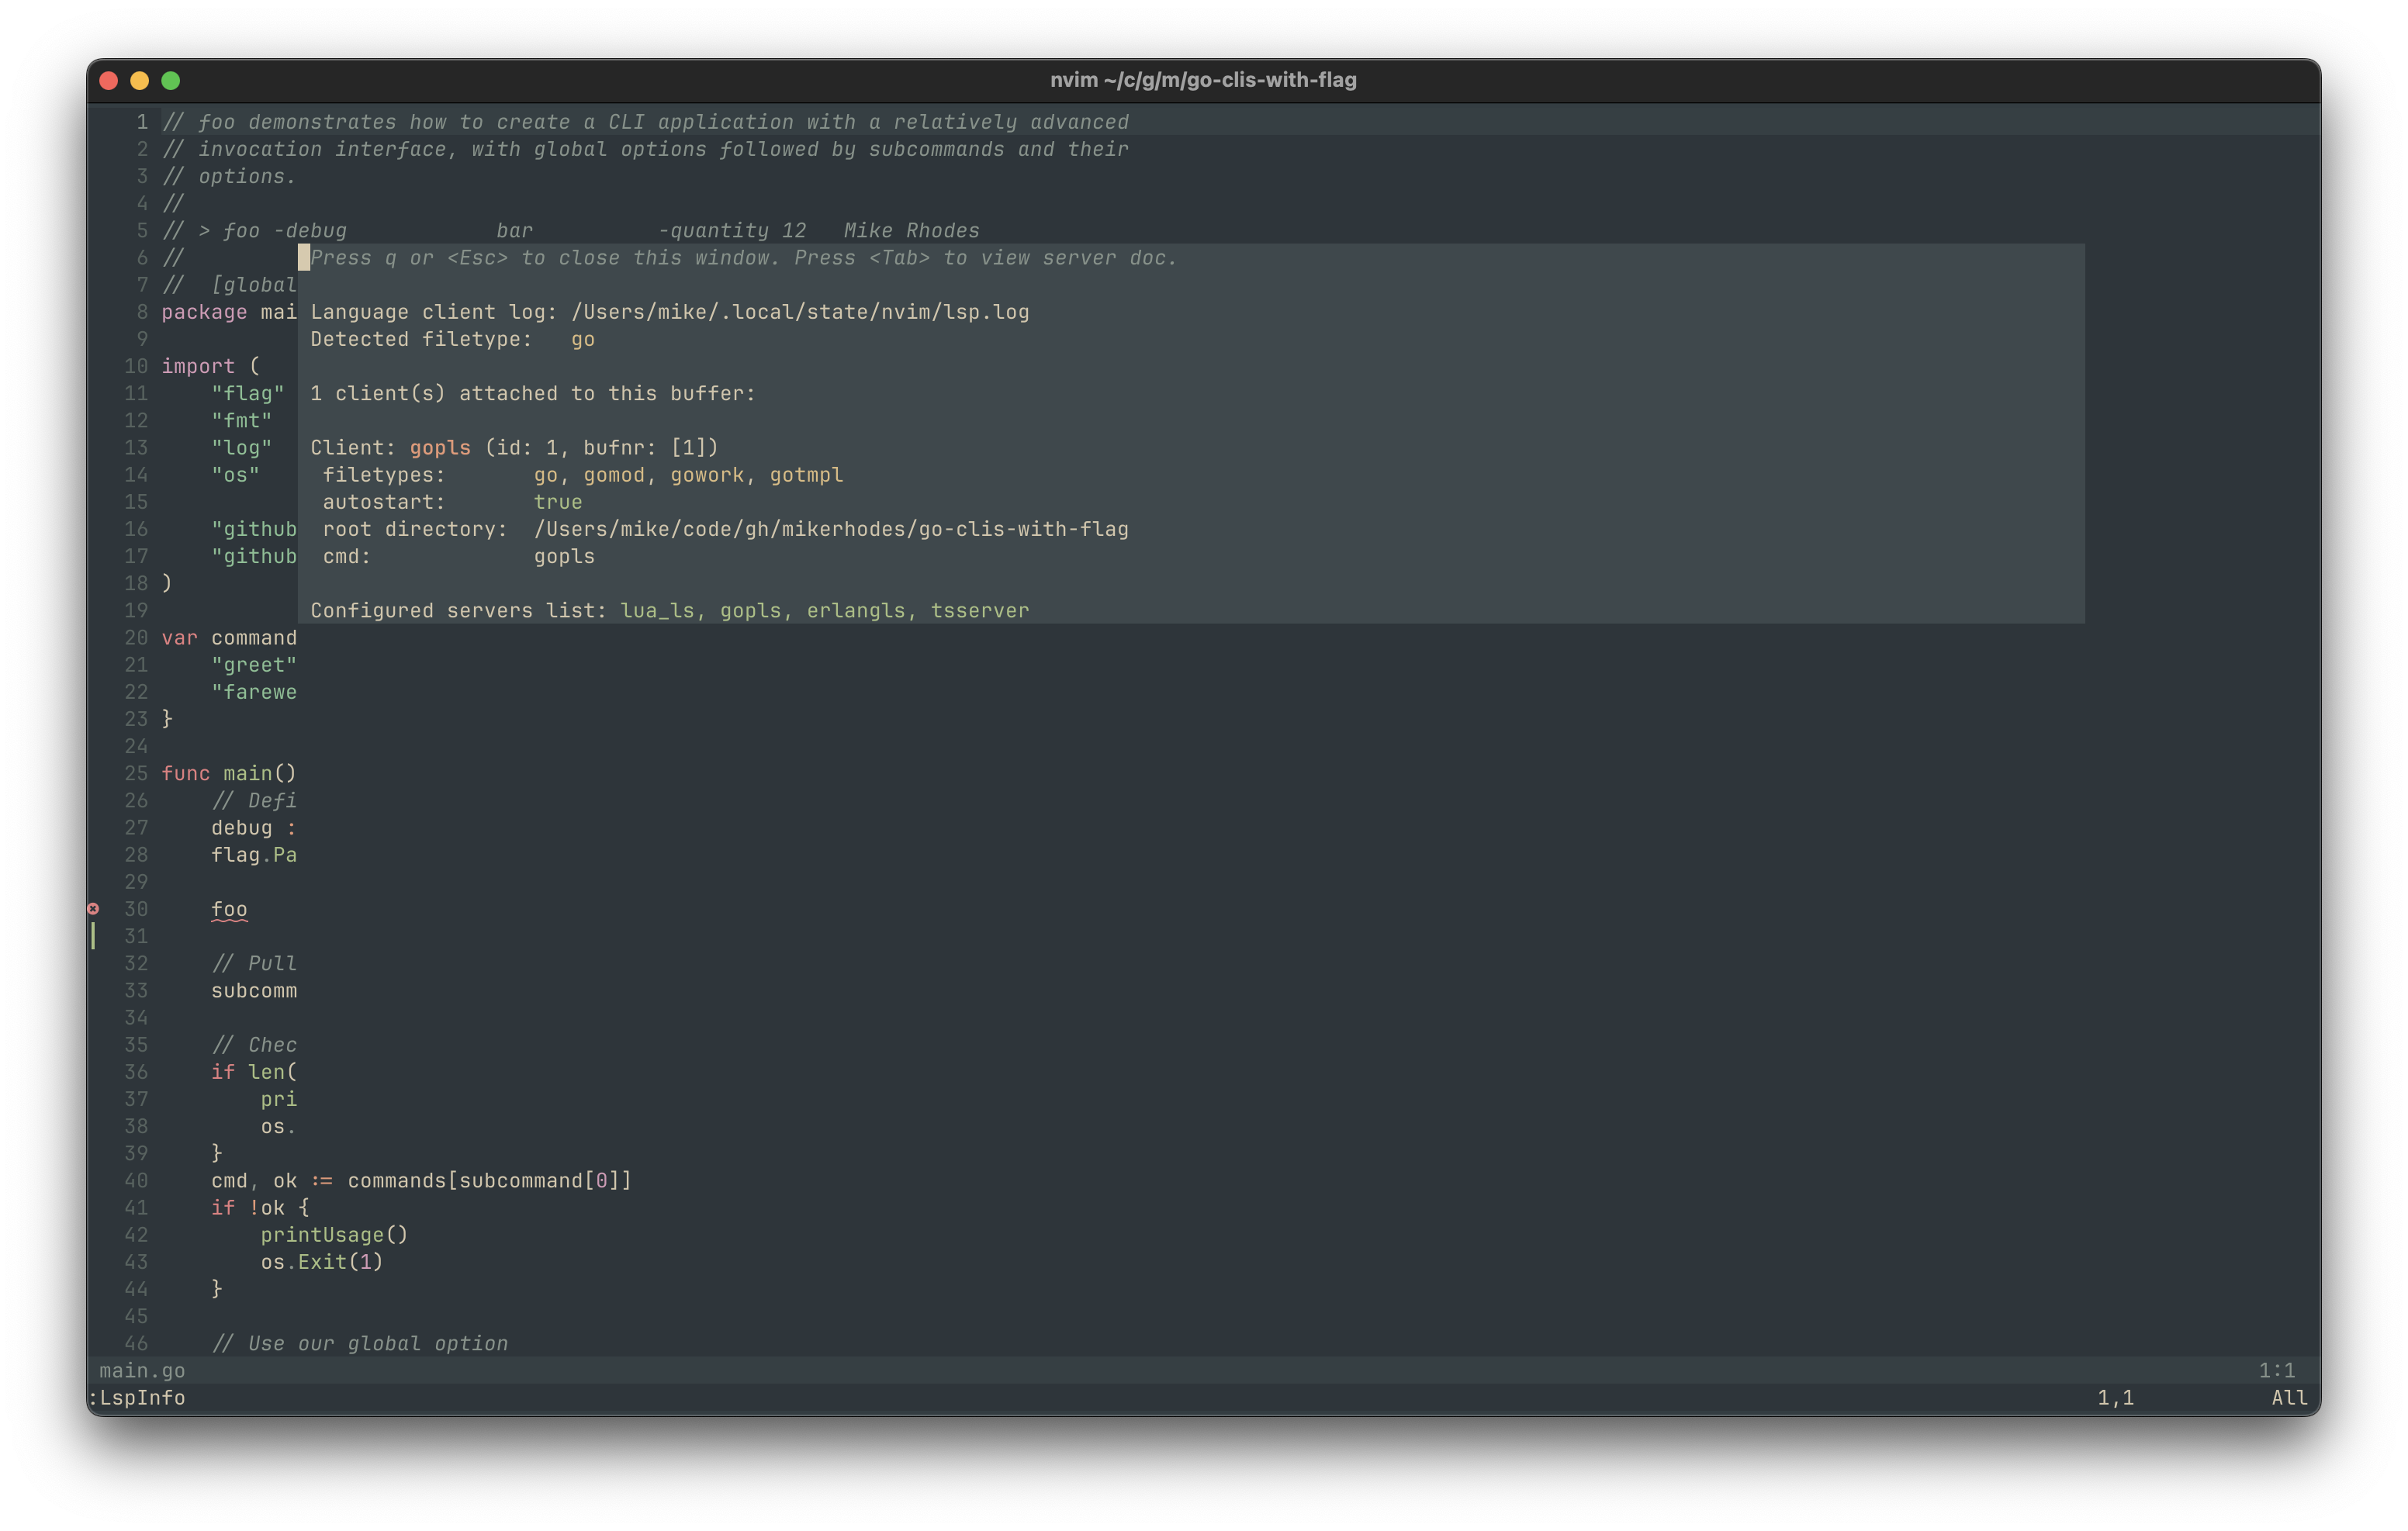
:LspInfocommand provides the key state information required to check on the LSP without digging through the output ofvim.lsp.get_active_clients(). - There are other
:Lsp*commands that automate operations like restarting language servers to pick up configuration changes and so on.
Overall, my feeling is that :LspInfo is almost worth the price of entry on its
own. There’s no contest between its concise display and the epic splurge of Lua
tables we saw earlier:
Verdict
I’m glad I probed under the hood of Neovim’s LSP support and learned how to make
it work by calling Neovim’s Lua APIs. I’ll be able to pick up and use new LSP
features without waiting for them to appear in plugins. Even saying this,
however, working through Neovim’s LSP functionality from first-principles has
allowed me to see better the value that nvim-lspconfig provides. I’ll
definitely still keep using nvim-lspconfig. But now with the benefit that I
can understand the code better, and likely be much better placed to debug any
issues I come across in future.
Putting nvim-lspconfig together with mason gives
us a great LSP experience. mason complements nvim-lspconfig by automatically
downloading LSP server binaries into a path private to Neovim. I’d like to
understand mason better too. Therefore I’m hoping to write a little more about
that plugin soon as well, to dig into what it’s doing and where it puts things.
As noted at the start of the article, it’s always worth knowing what tools are doing on your behalf. It’s been quite a long journey getting down into these particular weeds and nettles, but I’m glad I did. I hope you enjoyed the read, and managed to get everything working if you followed along.
Addendum
After writing this, I found New LSP features in Neovim 0.8. It turns out
that vim.lsp.start() was new in Neovim 0.8 and was built around making using
LSP servers in Neovim without plugins easier. I only started using Neovim after
0.8 was released, so I’d never seen a Neovim without vim.lsp.start().
Previously one needed to use vim.lsp.start_client() which didn’t have any of
the smarts around reusing existing LSP clients. That was one of the major
selling points of nvim-lspconfig, that it handled that client reuse for you.
So you wouldn’t end up starting a language server process every time you opened
a file, if you naively used and autocmd and start_client() together.
I admit that I was confused about why nvim-lspconfig had code dedicated to
client reuse when Neovim seemed to do that for you — clearly, before 0.8, this
would’ve been a problem. So perhaps my autocmd isn’t as awful as I thought:
start() allows you to be a lot more slapdash in your own code.
I still think the :LspInfo command is rather better than the mass of Lua code
that vim.lsp.get_active_clients() spits out.